What is a Green Screen?
A green screen or chroma key allows
Requirements
- Windows 8.1 or 10
- OSX
Instructions
Green Screen Tutorial - Beginner (OBS)
Please note that these instructions are provided for staff and students with a school issued device. Students with BYOD devices Click Here to download from OBSProject.
Steps
- Open Software Center.
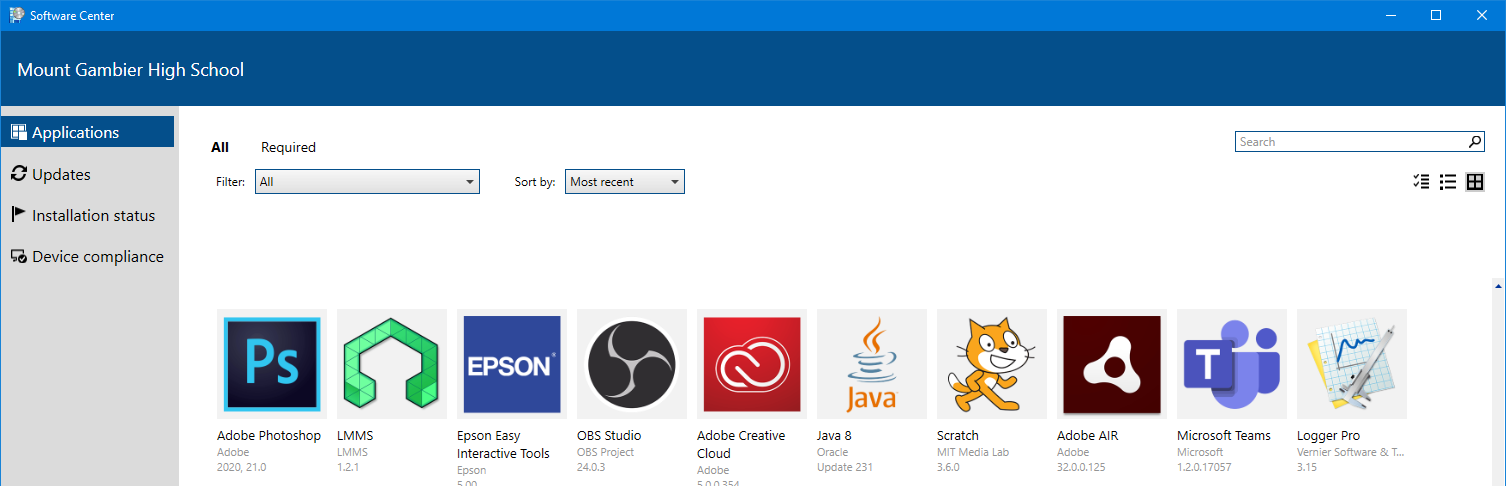
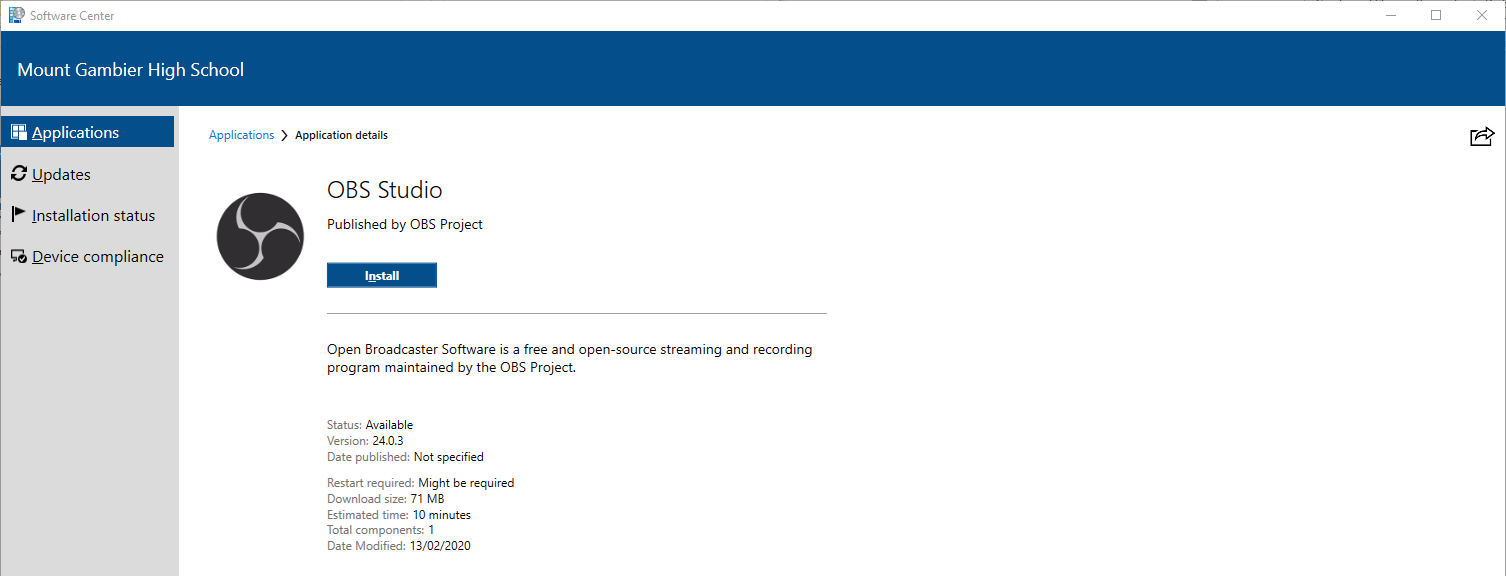
- Click on OBS Studio to view more details and select Install.
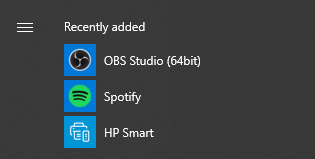
- Once complete you will find OBS Studio in your Start Menu. Open OBS Studio.
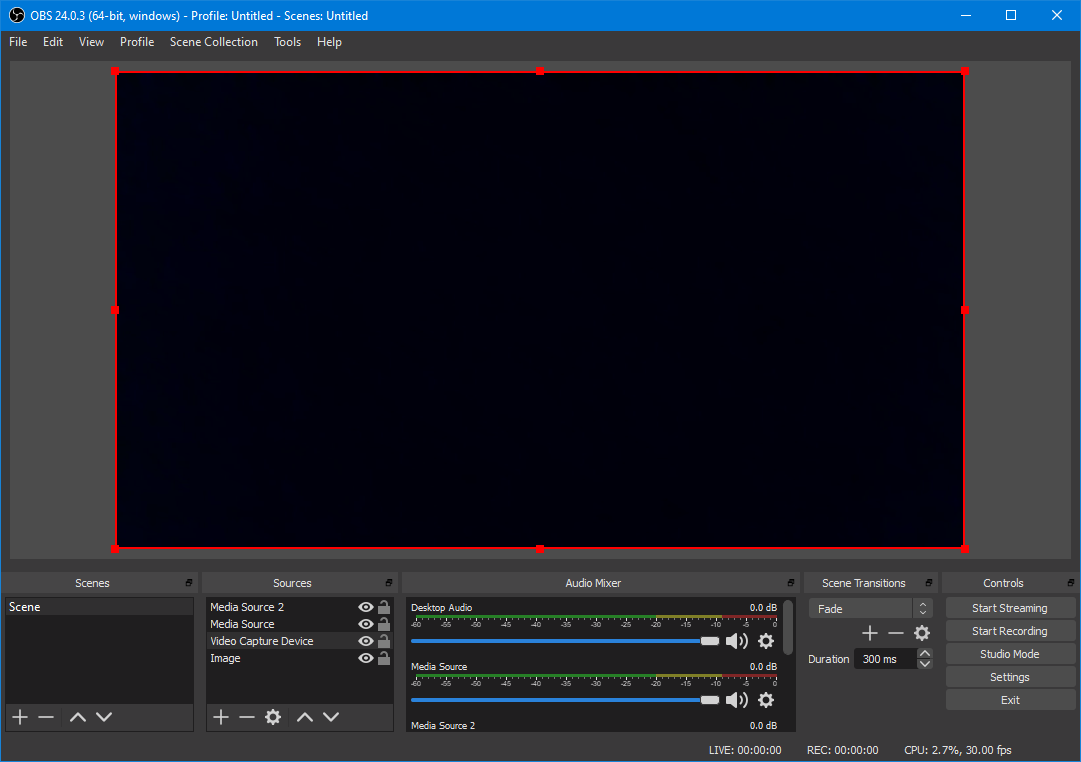
- Once open remove the Display capture source by selecting it and clicking the minus button.

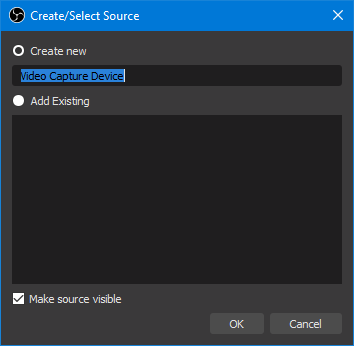
- To add a video source, click the plus icon and select video capture device
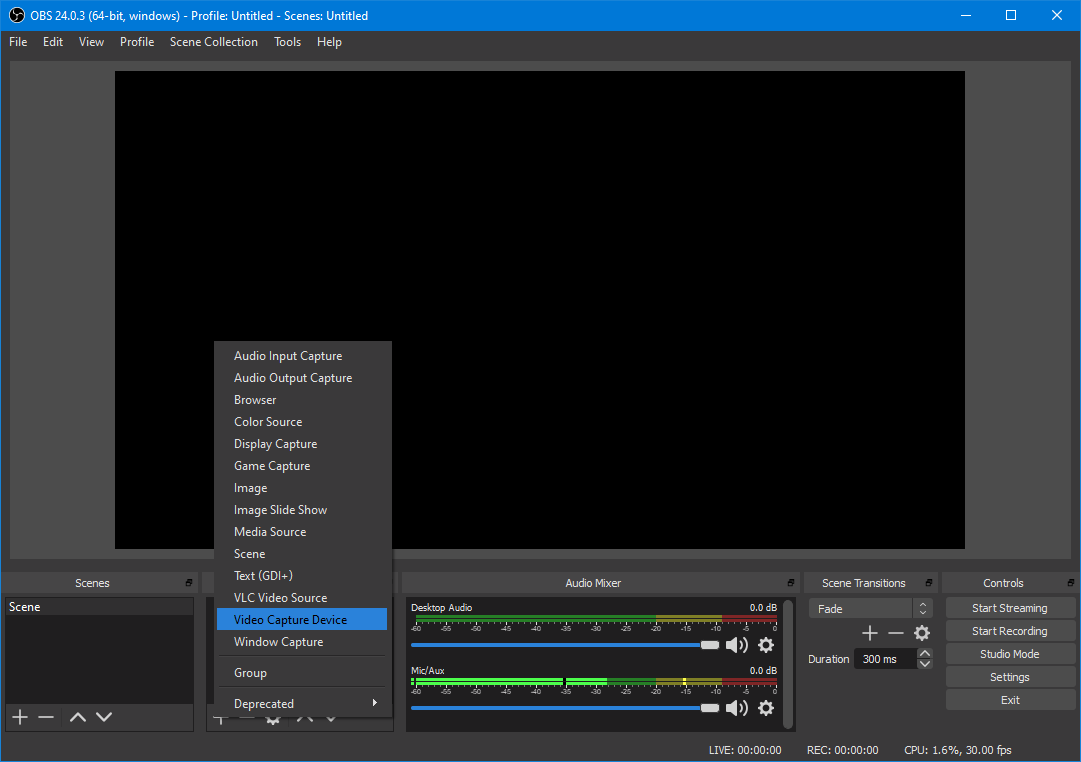
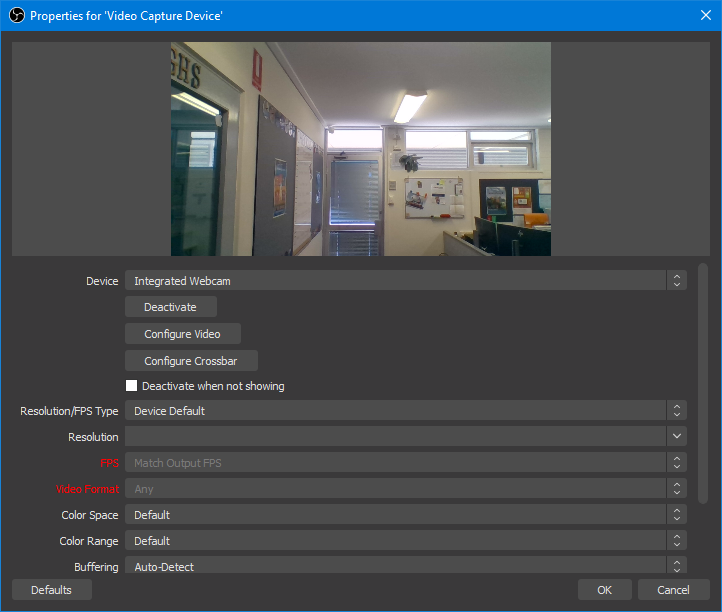
- Click OK.
- Click OK.
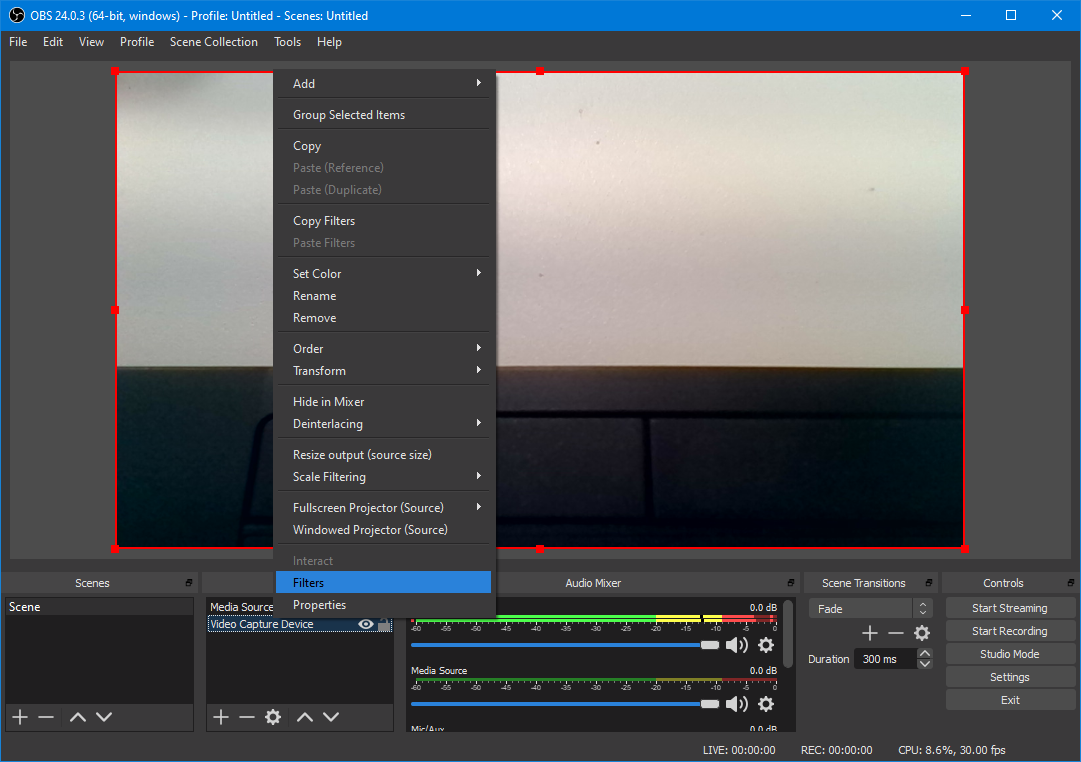
- Resize the webcam capture by dragging the corner of the red outline.
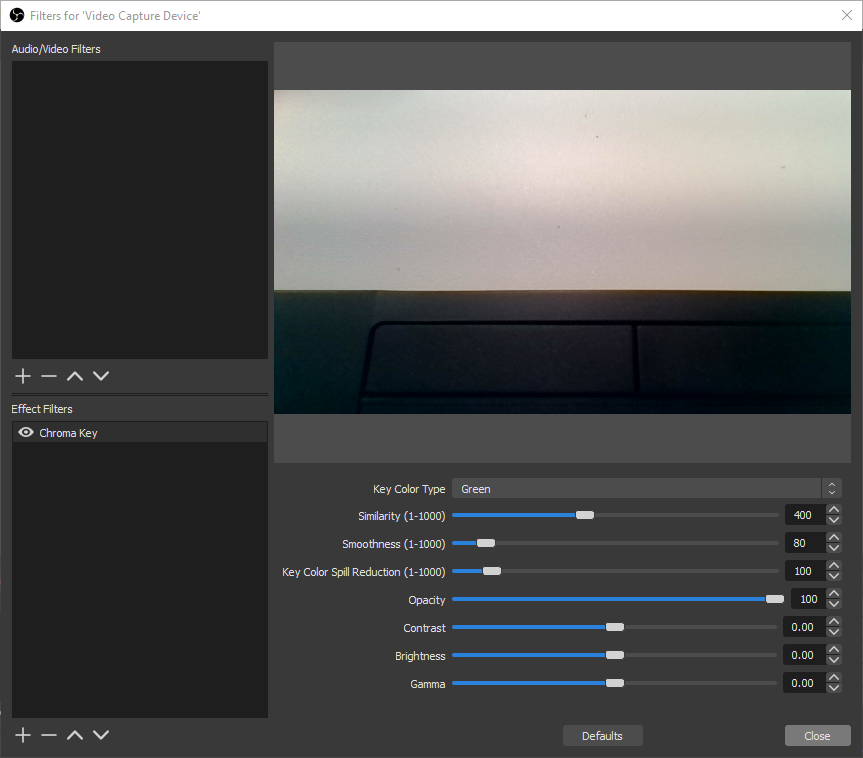
- Right click video capture device and select filters.
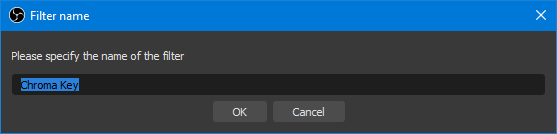
- Click the plus icon at the bottom of the effect filters box and apply a chroma key.

- Click OK.
- Click close.
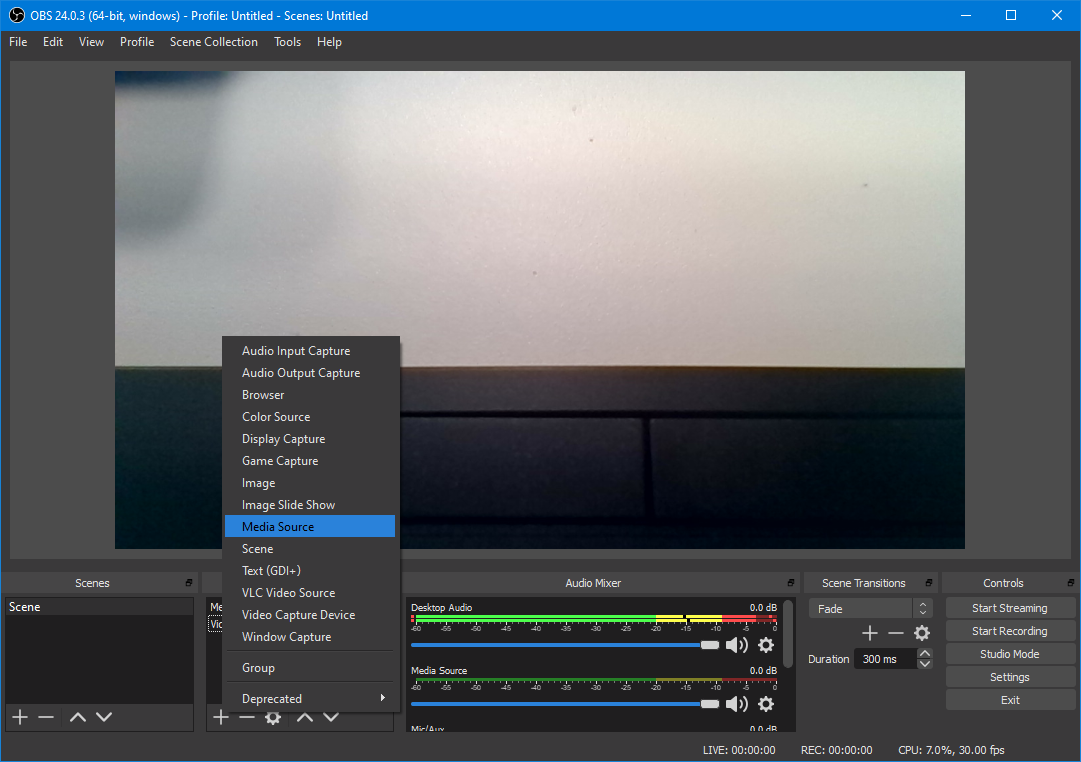
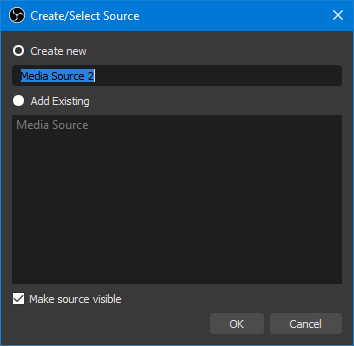
- To add background elements click the plus icon in the sources tab and select media source for a video or image for a photo.
- Click OK.
- Click browse and find the desired file
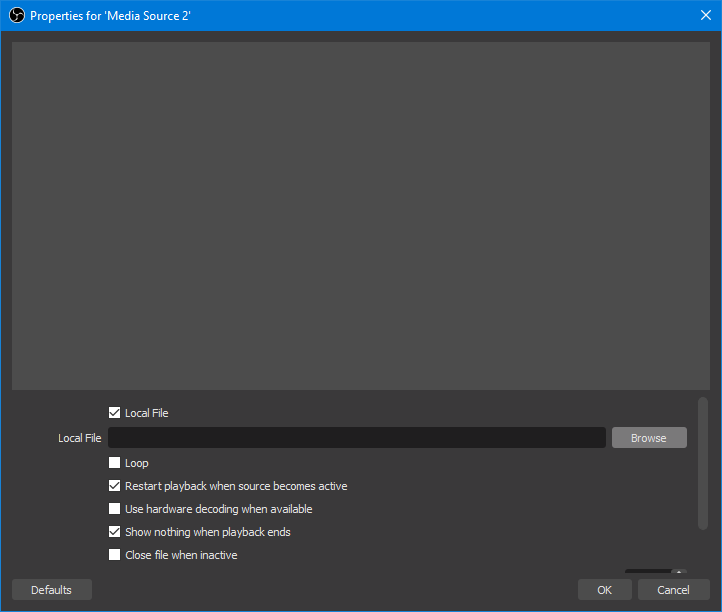
- (if It’s a video) Click loop
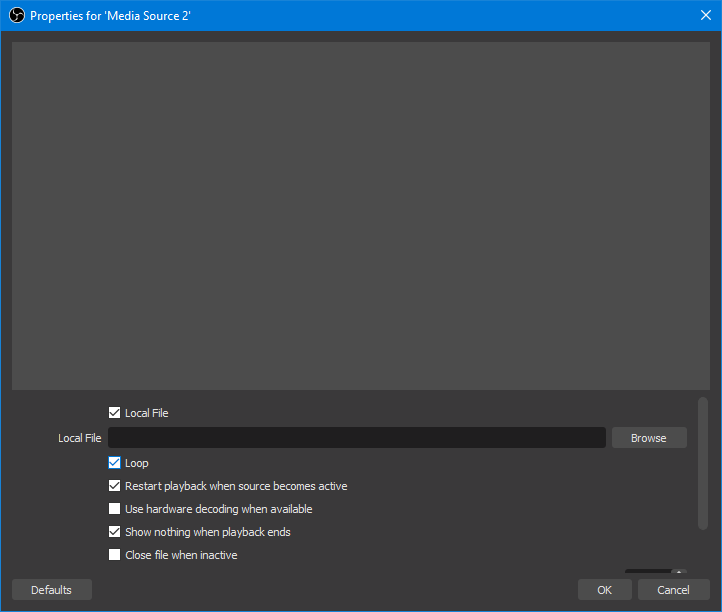
- Click OK.

- Adjust the order of the sources to your heart's content by selecting a source and clicking the up and down arrows.

Green Screen Tutorial - Advanced (Premiere Pro)
For staff and students with BYOD devices please ensure that you Click Here to download the Adobe Creative Cloud launcher application from the Adobe website.
Steps
- Open Software center on your device.
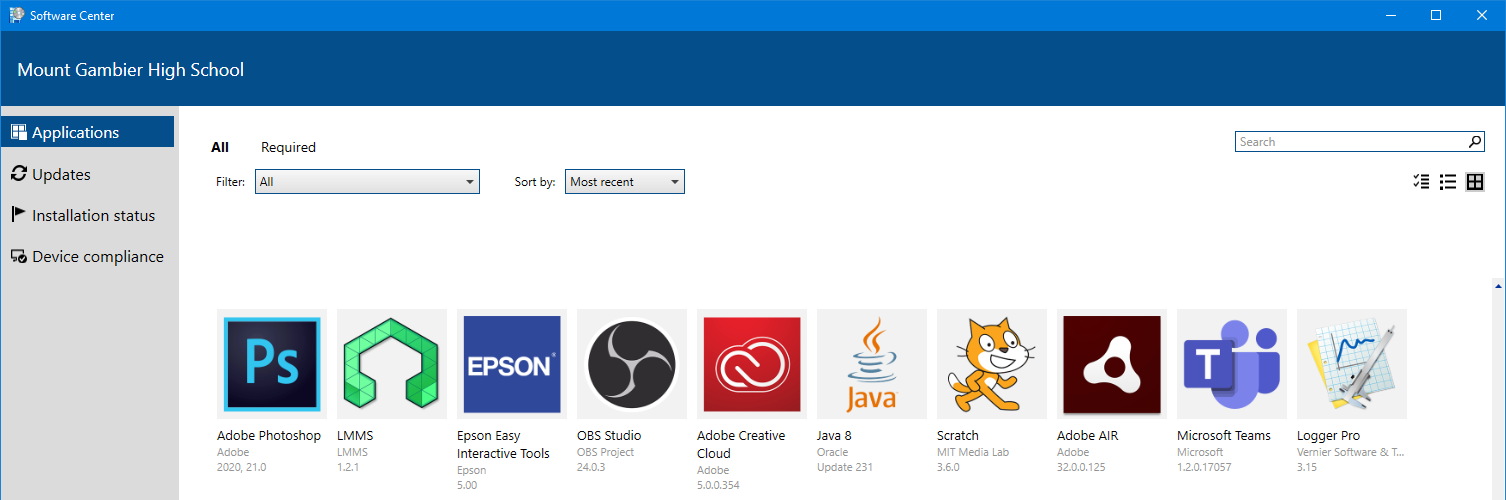
- Click on Adobe Creative Cloud to view more details and select Install.
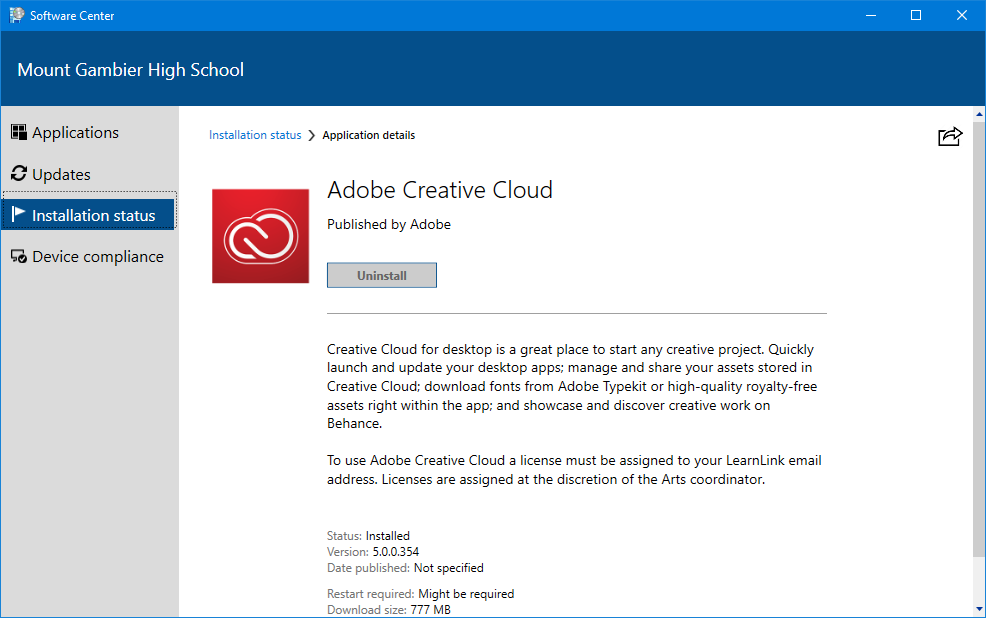
- Once complete you will find Adobe Creative Cloud in your Start Menu. Open Adobe Creative Cloud.
- Sign in with your learnlink information (Your account must be assigned an Adobe Creative Cloud license)
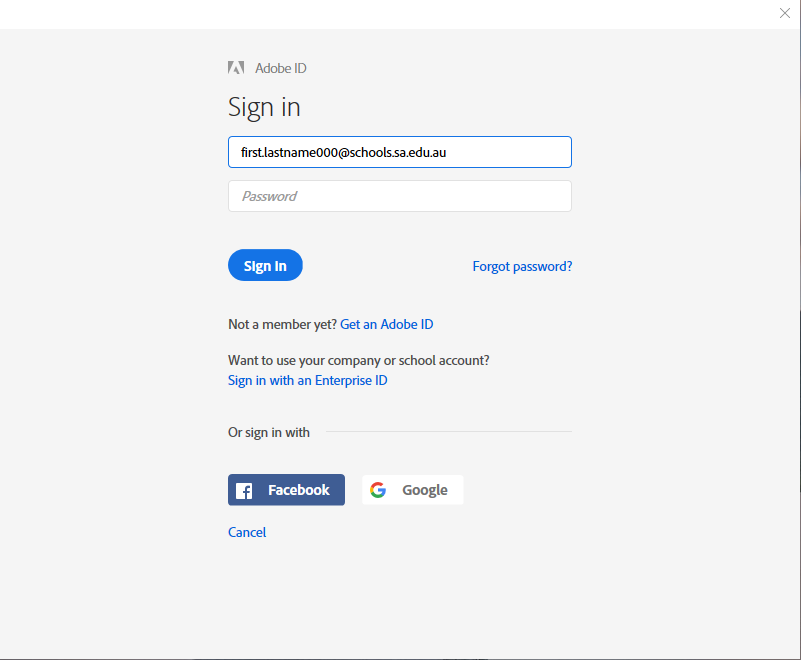
- Enter in your password.

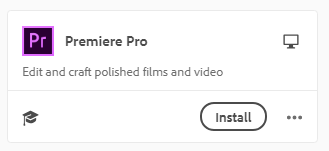
- Install Adobe Premiere Pro from the Adobe Creative Cloud Launcher
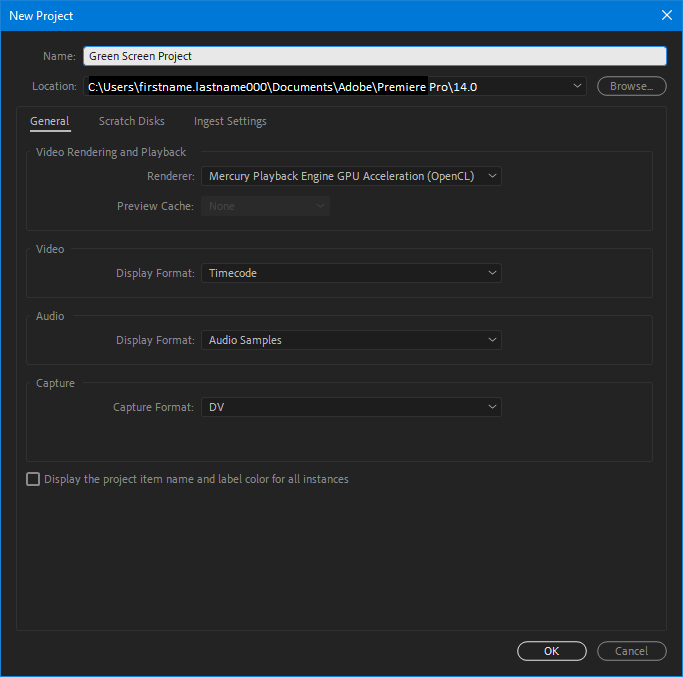
- Open Adobe Premiere Pro and select New Project.

- Enter text into the field to name your project and click OK.
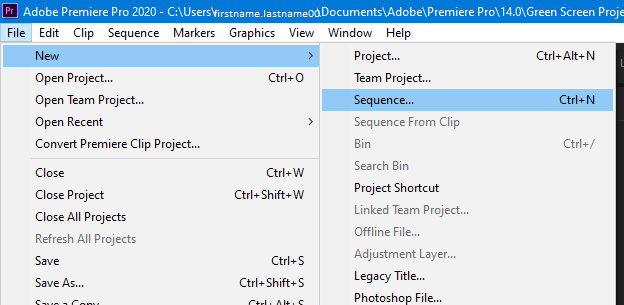
- Click File > New > Sequence
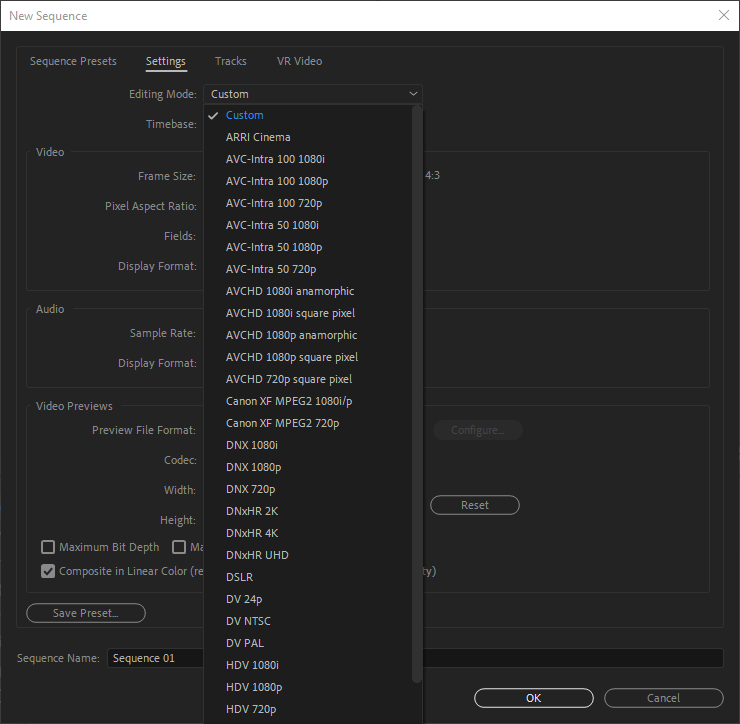
- Click the settings tab

- Click editing mode, scroll to the top of the list and select custom.
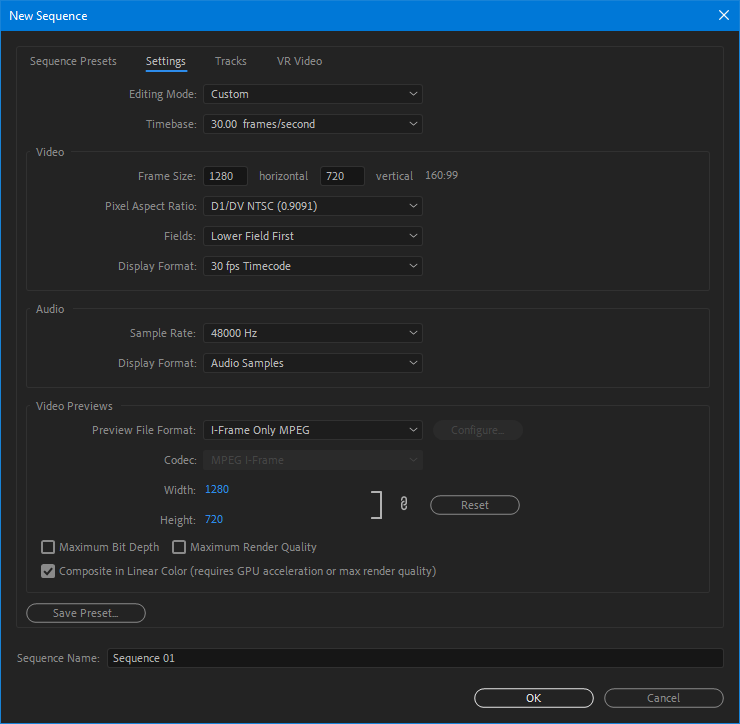
- Click timebase, scroll to the top of the list and select 30 frames/second.

- Click into the horizontal frame size box and type in 1280. Click into the vertical frame size box and type in 720.
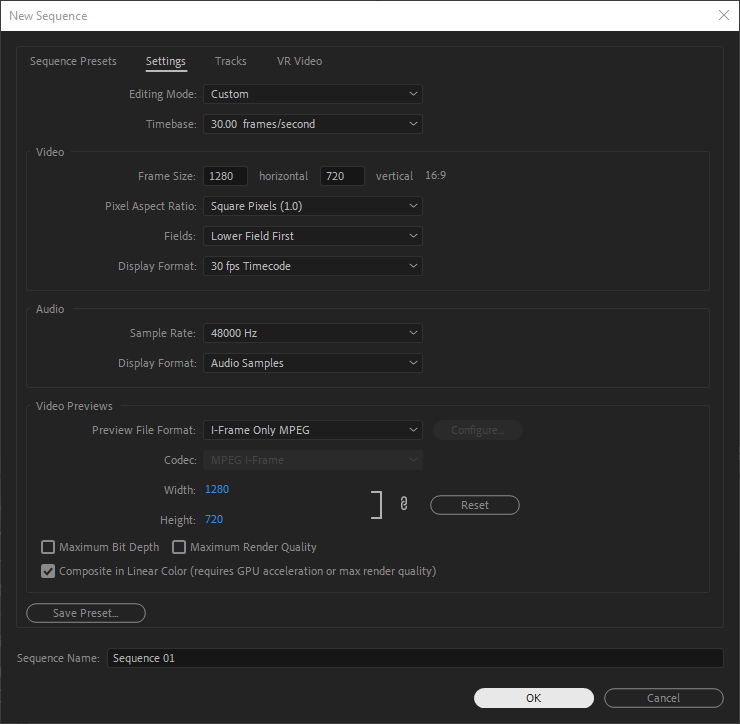
- Click Pixel aspect ratio, scroll to the top of the list and select Square pixels.

- Click OK.
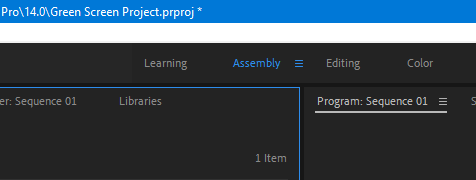
- Click the Assembly tab.
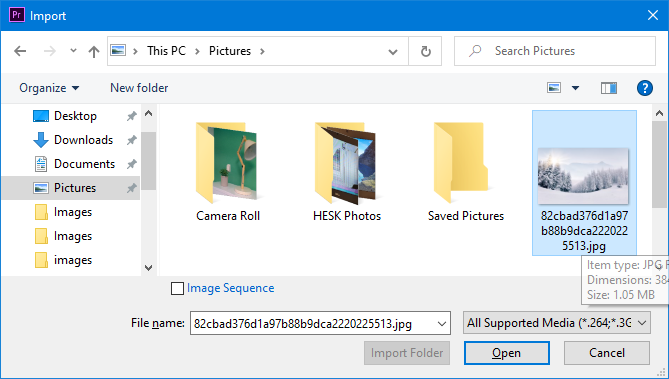
- Hit Ctrl + i to import media.

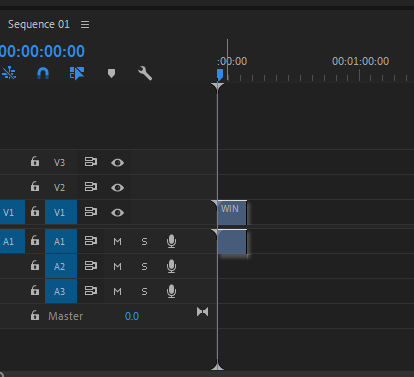
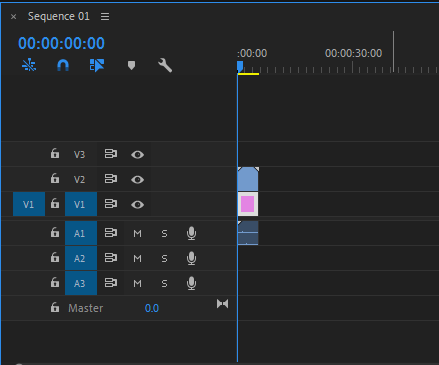
- Drag the imported media to the timeline.
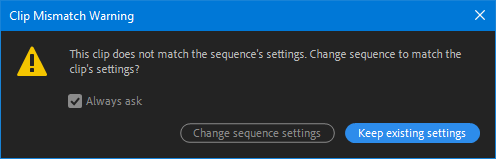
- Click Keep existing settings.
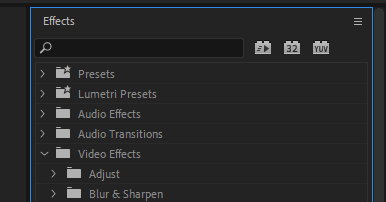
- Click the Effects tab.

- Expand the Video effects folder in the Effects panel.
- Expand the Keying folder.
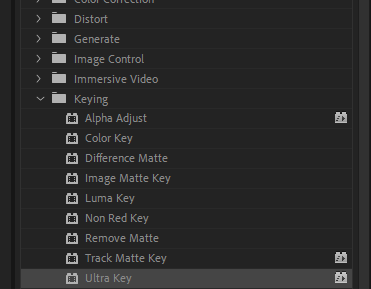
- Drag the Ultra key effect onto the desired clip in the timeline and watch it appear in the Effect controls panel in the upper left corner.
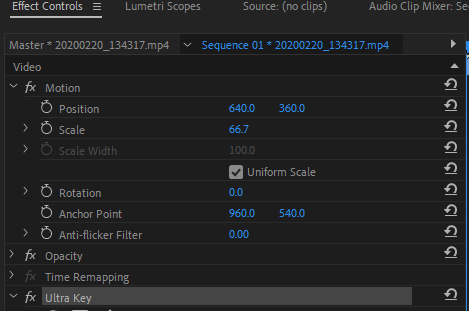
- Select the eyedropper tool.

- Click on the green screen in the preview panel and the green will disappear

- Hit Ctrl + i to import media to be placed underneath the keyed media.
- Drag the green screen video up one track on the timeline.

- Drag the newly imported media to the timeline below the green screen media.
- Done!
